Friday 28 October 2011

Bolu Kukus

This is one of my favorite cakes :-). Bolu kukus is an Indonesian steam sponge cake. To make this cake you need a special mold which i bought in Indonesia. It´s basically the same like single muffin mold but with holes. 


You can say you have succeeded when the cake "blooms" :-). 
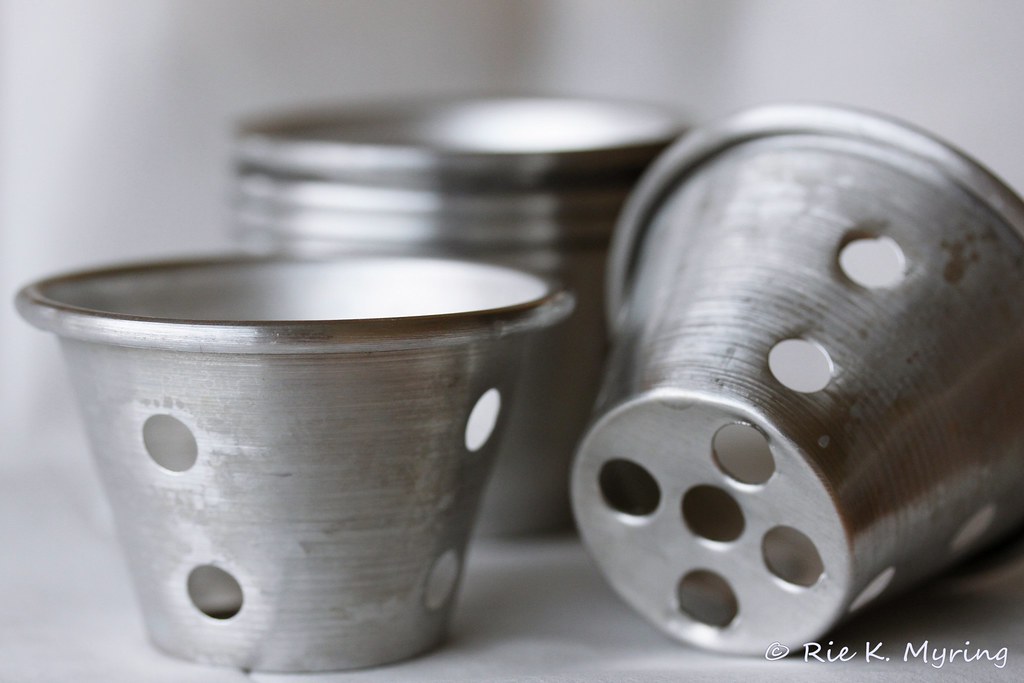

Bolu Kukus Mold


Bolu Kukus (Indonesian steam sponge cake) 


Ingredients:
250 gr Sugar
250 gr Flour
2 Eggs
1 tsp Cake emulsifier 
200 ml Soda water or Sprite
1-2 tsp Cocoa powder or mocha paste    


Method:
1. Place baking paper/muffin paper form into bolu kukus mold
2. Pre heat the steamer
3. Mix all the ingredients using freestanding mixer until creamy, around 10 minutes.
4. Take a 1/3 of the batter and place it into another bowl and put cocoa powder or mocha paste. Mix it well.
5. Pour the white batter into the mold until a little over half way.
6. Swirl a little chocolate or mocha batter on top.
7. Steam it with a high heat for 15 to 20 minutes.


Important notes:
- Wrap the steamer lid with towel or cloth
- DO NOT open the lid during steaming or the cake wont "bloom" and look like a regular muffin.


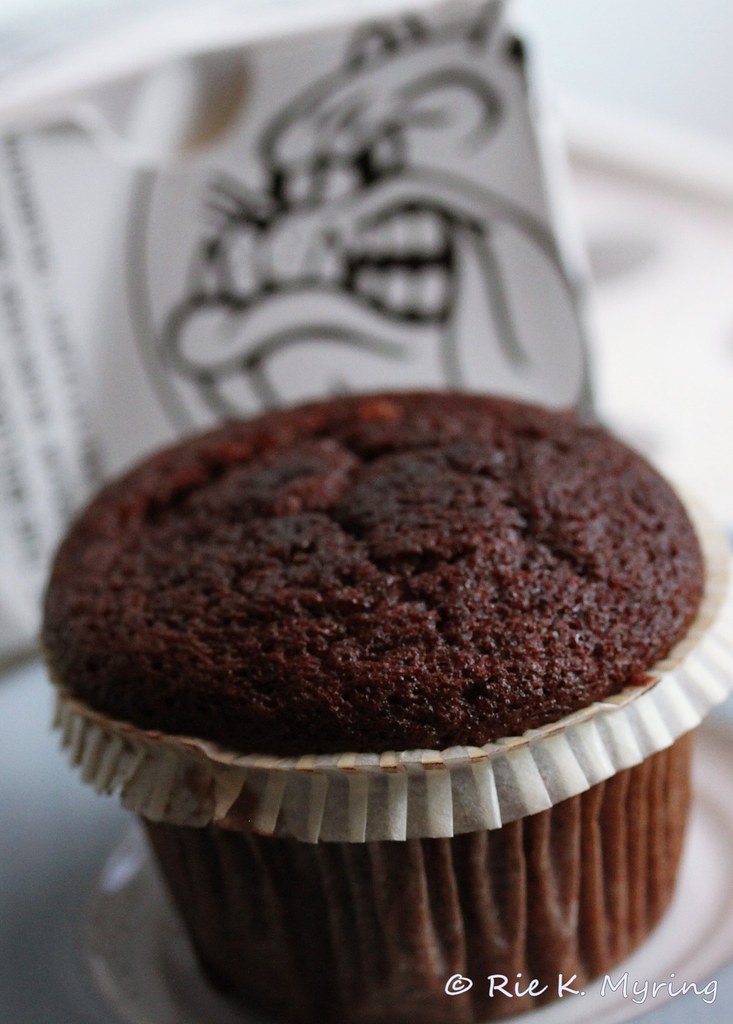
When i made this cake, i tried to use also the regular single muffin mold just to compare the result. You can see the pictures below for the result. 


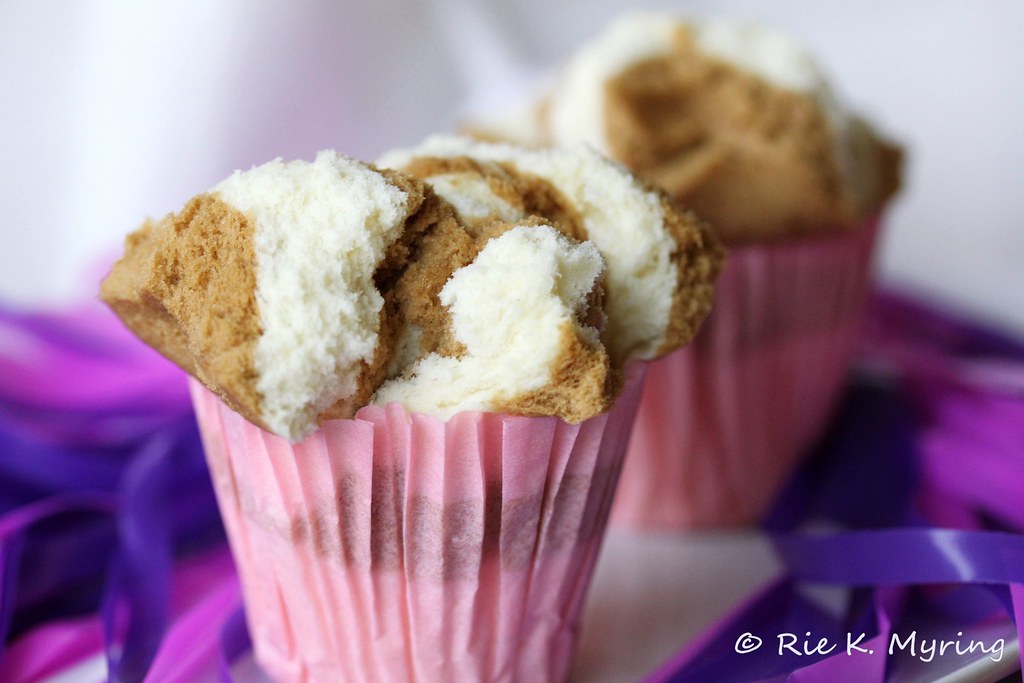
Using Bolu Kukus Mold

Using Single Muffin Mold

Beef Stifado

Beef Stifado is a Greek classic dish made from braised beef with pearl onions and tomatoes. Stifado can also be made with various other meat, not only with beef,  ie. rabbit, lamb or chicken. It is easy to make but it takes a long time to cook :D but the reward is  a nice, juicy melt in your mouth beef. For me it taste better when you cook it one day before you serve it.


In Greece, beef stifado was served with french fries but i believe it will do fine with roast potatoes, mashed potatoes or even rice :-).  


Beef Stifado 
Adapted from Greek Cooking book


Ingredients:
1 Kg Veal
1 Kg Pearl Onions (Rie- i used 500 gr), peel
3 Tbsp Butter
4 Tbsp Vinegar
4 Tomatoes, chopped
4 Cloves garlic, finely chopped
2 Bay leaves
1 Spring rosemary or 1 tsp dried rosemary
1 teacup oil
1 Stick cinnamon
1 Glass dry red wine
Salt & Pepper


Methods:
1. Cut the meat into 5 servings, place in pan with butter and saute. 
2. Add wine.
3. Add Salt, pepper, tomatoes, garlic, bay leaves, rosemary & cinnamon.
4. Place onions in frying pan with oil, saute and then add to the meat.
5. Add the vinegar and as much water as necessary for the meat to cook over low heat for minimum about 1 hour and 30 minutes.
  

Thursday 20 October 2011

Paella ala Luisa


Having friends from different countries gives me the opportunity to make the food according to their traditional methods. Luisa one of my good friends from Spain thought me how to make Paella. Thank you Luisa for giving me this recipe xxx.

I made a few changes in the recipe to suit our taste :D. Me and hubby love spicy food so i added chili pepper. 


Seafood & Chicken Paella 
Source: Luisa with a few changes from me

Ingredients:
1 Tbsp Extra virgin olive oil
1 Red bell pepper, chopped
1 Onion, finely chopped
2 Chili pepper, finely chopped
3 Cloves of garlic, finely chopped
1 Tsp Salt & paper or to taste
3 Bay leaves
Pinch of saffron strands
4 Plum tomatoes, chopped
2 Chicken breast cut into dices
75 ml White wine
180 gr Arborio rice
500 gr Fresh prawns (Use the shell & heads to make broth)
4 Calamari, sliced
100 gr Frozen peas
* For decoration
Few cooked shrimps 
Lemon 
Fresh parsley

Methods:
1. Cook shell and heads of prawns with 300 - 400 ml water, bring it to boil and set aside.
2. In a pan place oil, bell pepper, onion, chili pepper, garlic, tomatoes, bay leaves, salt, paper and saffron. Cook until they are soft.
3. Add the chicken, stir and cover for a few minutes, stirring occasionally.
4. Add the rice to the dish and stir for another minute.
5. Add the wine and stir until absorbed.
6. Add the boiling broth gradually and stir continuously
7. 10 minutes before its done, add the prawn, calamari and peas. Stir and then cover the pan with aluminum foil with low heat.
8. When its done, you can decorate as you wish and then serve.


Hubby said it tasted better than the one he had before in Spain ^_^. 

My Escape

Before we got married, hubby said he did not travel much with work (only once every year) but as soon as we were married God knows how many times he left me. I don't like being alone, in fact i HATE it!! esp. in the winter. The main reason is because i´m afraid of the dark hahaha...yeah call me whatever..i don't care :p. 


Anyway, few weeks ago "the bugger" said he will travel again and this time for 3 weeks!! Rather than being alone at home for 3 weeks, i decided to visited my friends in Netherlands and stayed there for 1 week (a week of shopping, meeting friends and having fun).  Dee and her husband were very kind to accommodate me. Thanks kakak Dee and meneer :-).


I have always been fascinated with Netherlands, the canals, windmills, old buildings and houses but not the weather though :p. One thing i love the most is Stroopwafels. Its a Dutch delicacy made with two thin slices of waffles with a caramel syrup filling... hmmmm my mouth is watering now :p. Stroopwafels are available in most food store and you can get also fresh baked from local market. My favorite place to buy them is at Albert Heijn grocery store. 


Fresh baked stroopwafel (€2)
I took this pic using Dee´s camera

While i was in Amsterdam i decided to try a space cake for the first time :D.  A space cake is a cake or muffin that is made using cannabis or marijuana. To get them you need to go to the coffeeshops which is easy to find around Amsterdam but don't be fooled (like i was), coffeeshops in Netherlands do not serve a hot steaming coffee instead they sell cannabis. Me and Angel bought 2 pieces (€ 6 each) to share with other girls, there were six of us. The space cake didn't effect me at all, maybe i should eat the whole muffin for my self :p.  

The Bulldog´s space cake

I really had a good time there, meeting friends, eating indonesian food, trying new things (eating space cake & fresh stroopwaffel) and of course shopping  ^_^. For sure i will come back again to the Netherlands.


Sunday 2 October 2011

Homemade Cheese Crackers

I made cheese crackers yesterday, eventhough i burnt them a little bit but it still tasted good ^_^. They were crispy, cheesy and also easy to make. It would have tasted even better if i didnt burn them :D. 


My burnt cheese cracker


Homemade Cheese Crackers
Adapted from ReadyMade Magazine with a little change from me

Ingredients:
250 gr Cheddar cheese, grated
3 Tbsp Unsalted butter
1 Tbsp Vegetable shortening
1 Tsp salt
140 gr Flour
2 Tbsp Ice water
Kosher Salt for sprinkling

Method:
1. Using standing mixer or food processor, combine cheese, butter, shortening, and salt until the mixture crumbly.
2. Slowly add flour and then the ice water.
3. Pat the dough into 2 disc, wrap tightly with plastic wrap, and refrigerate for at least an hour.
4. Preheat the oven to 190⁰C.
5. Using parchment paper or a silicone mat roll each disc to 1/8 inch or less and cut into 1 inch squares using a pastry wheel.
6. Use a toothpick to punch a hole into the center of each square.
7. Separate the crackers and transfer onto the baking sheet
(if you have difficulty separating the cracker,  put them in the refrigerator for 10 minutes).
8. Bake for 10 – 15 minutes or until puffed and browning around the edges. If you pull them out too soon and the crackers don’t have the desired crispiness you want then simply return them to the oven for 2-3 more minutes.
9. Immediately move the crackers to racks to cool.

Note: Watch carefully when you bake them as the high fat content of the crackers makes it a fine line between golden delicious and burnt.